 Pin It
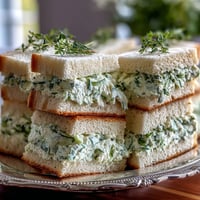
 My first taste of a proper Dutch croquette came on a gray Amsterdam afternoon when a neighbor pressed a warm one into my hand at the train station—golden, still crackling slightly, with that sudden give when I bit through to the creamy beef ragout inside. It's the kind of simple comfort food that sounds humble until you make it yourself and realize how much technique hides behind that crispy exterior. There's a reason these appear in every Dutch kitchen and café: they're worth the effort, and once you master the technique, you'll find yourself making batch after batch.
I once made these for a dinner party where someone accidentally arrived two hours early, and I panicked until I remembered the croquettes were already breaded and waiting in the freezer—I dropped them straight into hot oil and served them minutes later while everyone was still settling in. That moment taught me how forgiving this recipe really is, how a little planning ahead transforms potential chaos into something that feels effortless.
Ingredients
- Stewing beef (250 g): Chuck or shoulder works best because the long braise breaks down the muscle fibers into something wonderfully tender and shredable—avoid lean cuts that turn stringy.
- Beef broth (500 ml): Good broth matters here; it's the foundation of flavor, so taste it first and adjust salt later.
- Bay leaf: Just one, and remove it before shredding the beef or you'll spend minutes hunting for pieces.
- Onion (1 small): Finely chopped so it disappears into the filling rather than showing up as chunks.
- Butter (40 g for roux, 1 tbsp for sautéing): Don't skimp on real butter here—it's the flavor backbone of the ragout.
- All-purpose flour (40 g for roux, 100 g for coating): The roux flour needs to cook out its raw taste before you add liquid, or the filling will taste floury.
- Whole milk (150 ml): The milk rounds out the beef broth and creates that silky texture you're after.
- Ground nutmeg (1/2 tsp): A whisper of nutmeg is the secret that makes people ask what's in these—don't overdo it.
- Fresh parsley (1 tbsp, optional): A small handful of brightness, though purists skip it entirely.
- Eggs (2 large): Beat them gently with a splash of water; they're your glue between breadcrumbs and croquette.
- Fine breadcrumbs (150 g): Panko or Dutch paneermeel gives the crispiest crust; store-bought regular breadcrumbs will work but won't crackle quite as much.
- Neutral oil: Sunflower or canola oil for frying; avoid olive oil, which has too low a smoke point.
Tired of Takeout? 🥡
Get 10 meals you can make faster than delivery arrives. Seriously.
One email. No spam. Unsubscribe anytime.
Instructions
- Braise the beef until it surrenders:
- Combine beef cubes, beef broth, bay leaf, and a pinch of salt in a saucepan and bring to a boil, then turn the heat down to a gentle simmer for about an hour—you want the beef so tender it shreds easily with a fork. When it's done, fish out the beef with a slotted spoon and set it aside, then measure out 200 ml of the cooking liquid for later; discard the bay leaf.
- Toast the onion in butter:
- Melt 1 tablespoon of butter in a skillet over medium heat and cook the finely chopped onion until it's soft and translucent, about 3 minutes, stirring occasionally. Add the shredded beef back in, mix it together, and season with pepper and a little extra salt if it needs it.
- Build the roux base:
- In a clean saucepan, melt 40 grams of butter over low heat, then stir in the flour and cook for 2 minutes, stirring constantly—this cooks out the raw flour taste and creates a pale, sandy paste. Gradually pour in the reserved beef broth and milk, whisking steadily to prevent lumps from forming, until you have a smooth, glossy sauce.
- Create the ragout filling:
- Fold the beef-onion mixture into the creamy sauce along with the nutmeg and parsley, stirring until everything is evenly combined and you have a thick, cohesive ragout. Taste it and adjust the seasoning, then spread the filling into a shallow dish, cover it, and refrigerate for at least 1 hour until it's firm enough to shape.
- Shape the croquettes:
- Using cold, slightly dampened hands, roll each portion of chilled filling into a cylinder about 8 centimeters long—the cold filling should hold its shape without sticking too much.
- Set up your breading station:
- Arrange three shallow bowls with all-purpose flour in the first, beaten eggs in the second, and fine breadcrumbs in the third. Roll each croquette in flour first, tapping off excess, then dip it into the egg, and finally roll it thoroughly in breadcrumbs, pressing gently so they adhere; for extra crispiness, repeat the egg and breadcrumb step on each croquette.
- Heat the oil to the right temperature:
- Pour enough neutral oil into a deep pot or deep fryer to submerge the croquettes and heat it to 180°C (350°F)—use a thermometer if you have one, because oil that's too cool will be greasy and oil that's too hot will brown the outside before the inside warms. Fry the croquettes in small batches, a few at a time, for 3 to 4 minutes until they're deep golden brown.
- Drain and serve:
- Remove the croquettes with a slotted spoon and drain them on paper towels for a minute or two. Serve them hot, ideally with a pot of mustard nearby for dipping.
 Pin It
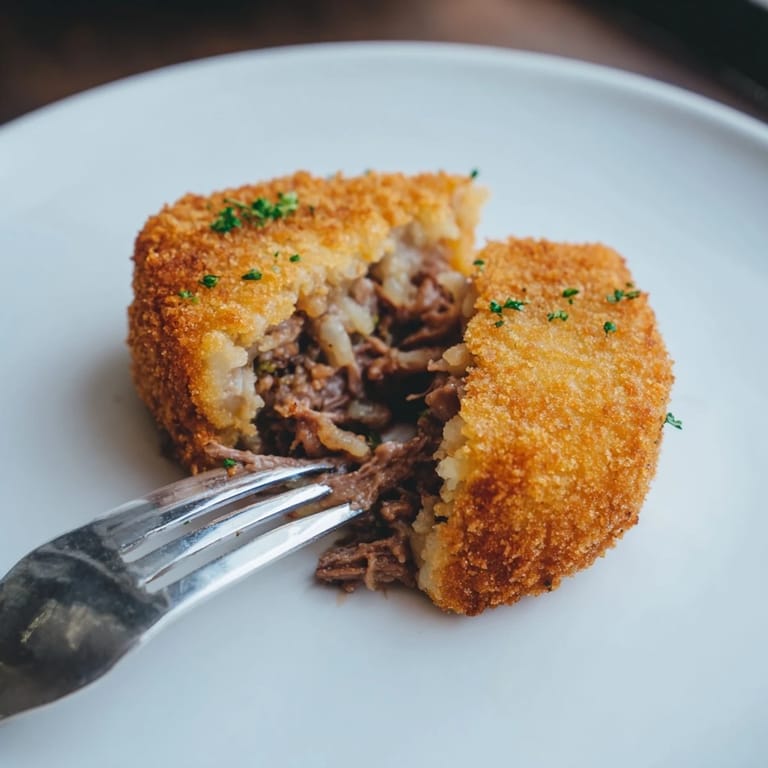
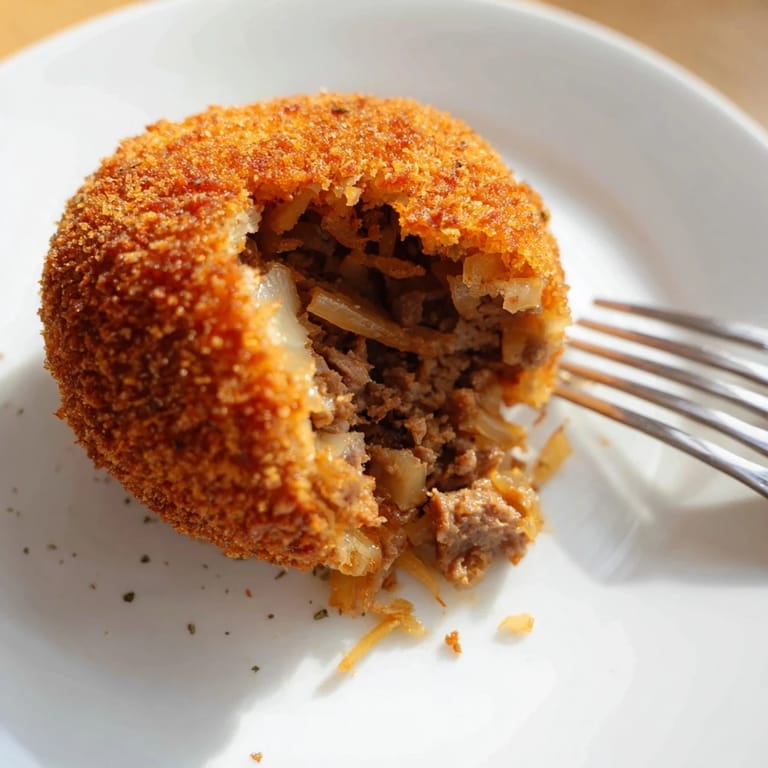
 There's a moment when you pull the first batch of croquettes from the oil and see them emerge golden and glossy that you understand why these have been part of Dutch food culture for generations. They're the kind of dish that bridges the gap between homemade comfort and something worthy of serving to people you want to impress.
Why the Roux and Milk Matter
The beef broth alone would give you a filling, but it's the roux and milk that transform it into something creamy and cohesive that actually holds its shape when you bread and fry it. The roux cooks out any raw flour taste in those first couple of minutes over low heat—this step is easy to rush and easy to regret, so stir constantly and be patient. The milk mellows the beef broth's salt and creates that luxurious mouthfeel, while the nutmeg adds a subtle warmth that somehow makes the filling taste more like itself, more savory, more right.
Temperature and Timing
Oil temperature is your silent partner here; too cool and your croquettes will absorb oil and taste greasy, too hot and they'll brown faster than the inside warms through. Three to four minutes at 180°C is usually the sweet spot, but ovens and stoves vary, so watch for that deep golden color and maybe sacrifice one early batch to test. The filling needs that hour or more in the cold to set properly, which means you can actually make these earlier in the day and bread them when you're ready to cook, or even bread them and freeze them for up to a month.
Serving and Pairing Suggestions
These are perfect on their own or alongside crispy fries and a cold beer, but they also work as part of a larger Dutch meal or as an unexpected appetizer that makes people pause and ask what they are. I've served them alongside pickled onions and small spoons of mustard, and I've also served them as part of a cocktail hour where people ate them with their hands, standing up, and came back for more.
- Pair with crisp pilsner or pale lager beer for the classic Dutch combination.
- Set out small bowls of whole grain mustard, sweet mustard, and mayonnaise for dipping variety.
- Make batches ahead and freeze them unfried for surprising ease when you need an appetizer.
 Pin It
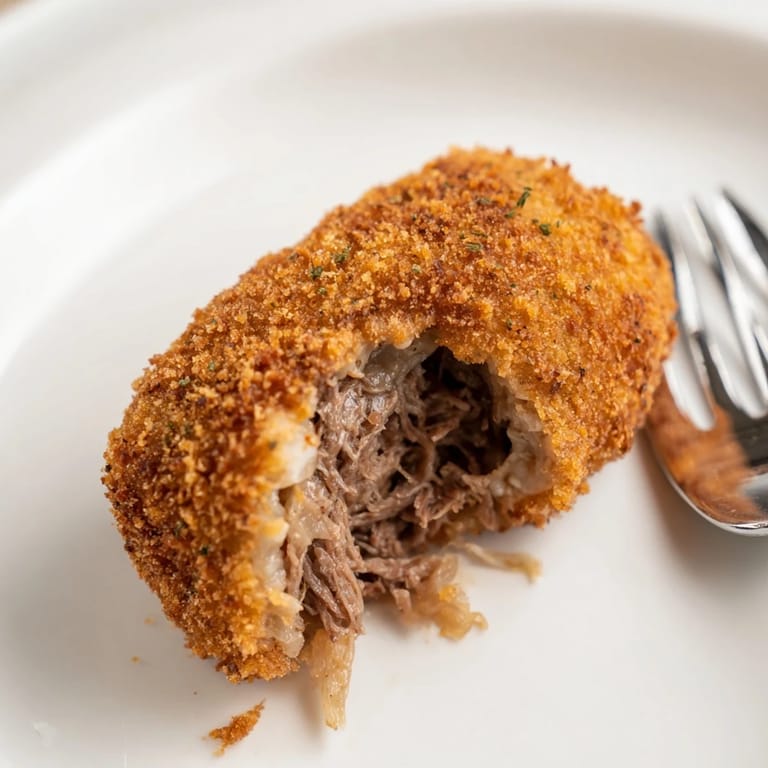
 Once you've mastered these, they'll become your secret weapon for when you want to cook something that tastes like it took hours but actually came together easily. That's the real Dutch croquette magic.
Recipe FAQs
- → What cut of beef is best for croquettes?
Stewing cuts like chuck are ideal due to their tenderness after slow cooking, providing a flavorful, soft filling.
- → How can I achieve a crispy coating?
Double coating the croquettes with flour, egg, and breadcrumbs ensures a thicker, crunchier crust when fried.
- → Can croquettes be frozen before frying?
Yes, breaded croquettes freeze well. Fry directly from frozen, adding a couple of extra minutes to cooking time.
- → What oil is recommended for frying?
Neutral oils with high smoke points like sunflower or canola oil work best for deep frying.
- → How to ensure the filling sets properly?
Chill the ragout filling thoroughly for at least one hour before shaping; this firms it up for better handling.
- → Are there common seasonings used in the filling?
Nutmeg, onion, pepper, and parsley subtly enhance the savory beef without overpowering the creamy texture.