 Pin It
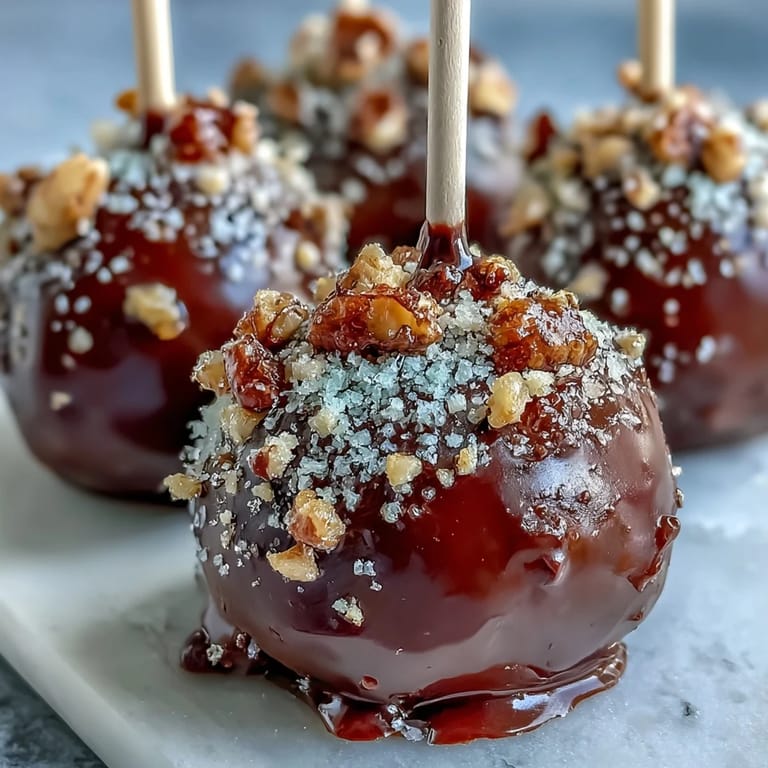
 My daughter came home from school with a St. Patrick's Day assignment: bring something green to share. Instead of the predictable cookies, I found myself staring at cake pops online at midnight, mesmerized by photos of black pots overflowing with edible gold. The next morning, covered in chocolate and sprinkles, I understood why she'd been so excited about the idea. These Pot of Gold Cake Pops became our tradition, each one a tiny edible celebration that somehow tastes even better when made with a little last-minute chaos.
I'll never forget watching my neighbor's face light up when I handed her a small box tied with green ribbon. She opened it expecting something store-bought, and instead found these gleaming little pots. She called me three days later asking for the recipe, which meant I'd somehow nailed the balance between impressive and achievable. That moment taught me that homemade doesn't have to look homemade to feel like love.
Ingredients
- Chocolate cake mix (1 box, 400 g): This is your base, and honestly, store-bought mix takes away the stress so you can focus on the fun decorating part. Add eggs, oil, and water as the package directs.
- Chocolate frosting (120 g or ½ cup): The glue that holds everything together, quite literally. Use store-bought to save time, or make your own if you're feeling ambitious.
- Black candy melts (400 g or 14 oz): These create the pot effect and must be melted gently so they stay smooth and glossy. Any harsh heat will make them seize up on you.
- Gold sprinkles or edible gold pearls (48 g or 2 oz): The treasure in your pot, and they stick best when added while the black coating is still slightly tacky.
- Lollipop sticks (24 sticks): These are your handles, and dipping them in melted candy before inserting helps them stay put through all the dipping.
- White candy melts (50 g or 2 oz, optional): Use these to pipe delicate rims or details if you want to get really fancy with your presentation.
- Green fondant or sprinkles (optional): A tiny shamrock accent transforms them from festive to unmistakably St. Patrick's themed.
Tired of Takeout? 🥡
Get 10 meals you can make faster than delivery arrives. Seriously.
One email. No spam. Unsubscribe anytime.
Instructions
- Bake and cool your chocolate canvas:
- Follow the cake mix package directions exactly, then let that cake cool completely on a wire rack. Patience here matters because a warm cake will turn your frosting into soup.
- Transform cake into crumbs:
- Break the cooled cake into pieces and crumble it with your fingers until it resembles coarse breadcrumbs. Don't overthink this step; some texture variation actually helps the mixture hold together better.
- Mix in the binding agent:
- Add your chocolate frosting to the crumbs and stir until the mixture feels like damp sand that clumps when squeezed. This is your cake pop dough, and it should be moist enough to hold but not so wet that it falls apart.
- Roll out your pots:
- Scoop the mixture into 24 equal portions and roll each into a smooth ball, then gently flatten the top slightly so it resembles a pot opening. Work quickly so the mixture doesn't warm up too much from your hands.
- Chill for structure:
- Place your shaped cake pops on a parchment-lined tray and refrigerate for 30 minutes. This cooling step is non-negotiable because it prevents them from falling off the sticks later.
- Prepare your black coating:
- Melt the black candy melts according to package directions, usually in 30-second microwave bursts, stirring between each heat. The mixture should be smooth and pourable, like thick chocolate sauce.
- Insert and secure the sticks:
- Dip each lollipop stick's tip into the melted black coating, then insert it halfway into each cake pop. Chill for 10 minutes to lock everything in place before the full dip.
- Dip into black magic:
- Submerge each cake pop fully into the melted black coating, twisting gently, then lift it out slowly and let excess drip back into the bowl. Place each one upright in a styrofoam block or cake pop stand to set.
- Add your treasure immediately:
- Before the black coating sets completely, sprinkle the gold sprinkles or pearls generously over the top of each pot. The coating needs to still be slightly sticky for the gold to adhere, so timing is everything here.
- Pipe delicate details (optional):
- If you're feeling artistic, melt a bit of white candy melts and pipe a thin rim around the top edge of each pot for contrast. This detail makes them look intentional and polished.
- Add shamrock accents (optional):
- Press a tiny piece of green fondant into a shamrock shape and place it on the side of each pot, or simply dust with green sprinkles if you prefer. This step is purely for the festive factor but adds that St. Patrick's Day magic.
- Final set and serve:
- Let all the pops set completely at room temperature for at least 15 minutes before handling. Once set, they're ready to eat, gift, or display like the little edible masterpieces they are.
 Pin It
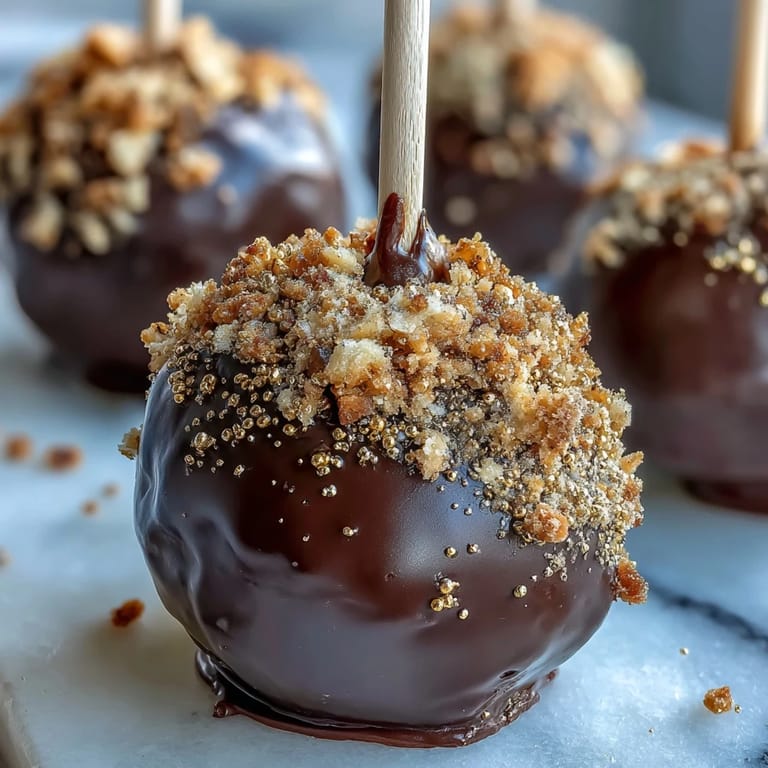
 I made these for my son's classroom party, and the teacher texted me a photo later showing every single student holding one up to the light, watching how the gold caught the fluorescent glare. That image made me realize these weren't just desserts; they were tiny moments of wonder disguised as cake and chocolate. Now every March, kids ask their parents, "Can we make the gold pots again?"
The Science of Stability
The cake-to-frosting ratio is crucial because too much frosting makes the mixture too soft to roll, while too little creates a crumbly texture that falls apart. Think of it like mortar in a brick wall; the frosting needs to bind the cake crumbs just enough to hold their shape without becoming a paste. I've learned this works best when the frosting is at room temperature, not cold, because cold frosting resists mixing and creates lumps.
Decorating Like You Mean It
The magic moment happens in those 10 seconds after dipping when the coating is still wet enough to accept decorations but set enough to hold them. If you wait too long, the gold sprinkles will bounce off the hardened surface. If you jump too soon, they'll sink into the coating and lose their shine. It's a small window, but once you nail the timing, you'll feel like a pastry chef.
Storage and Serving Wisdom
These pops keep beautifully for three days in an airtight container at room temperature, which means you can make them ahead without stress. I usually prepare them the day before an event, which gives me time to add personalized touches or remake any that didn't cooperate. They're equally delicious straight from the container or slightly chilled, so store them however works for your schedule.
- If you're making gluten-free versions, confirm that your cake mix, frosting, candy melts, and all decorations carry the certification.
- These pair wonderfully with Irish coffee, hot chocolate, or even a simple cup of tea for a sophisticated presentation.
- Transport them in a bakery box with parchment paper between layers to prevent sticking and damage.
 Pin It
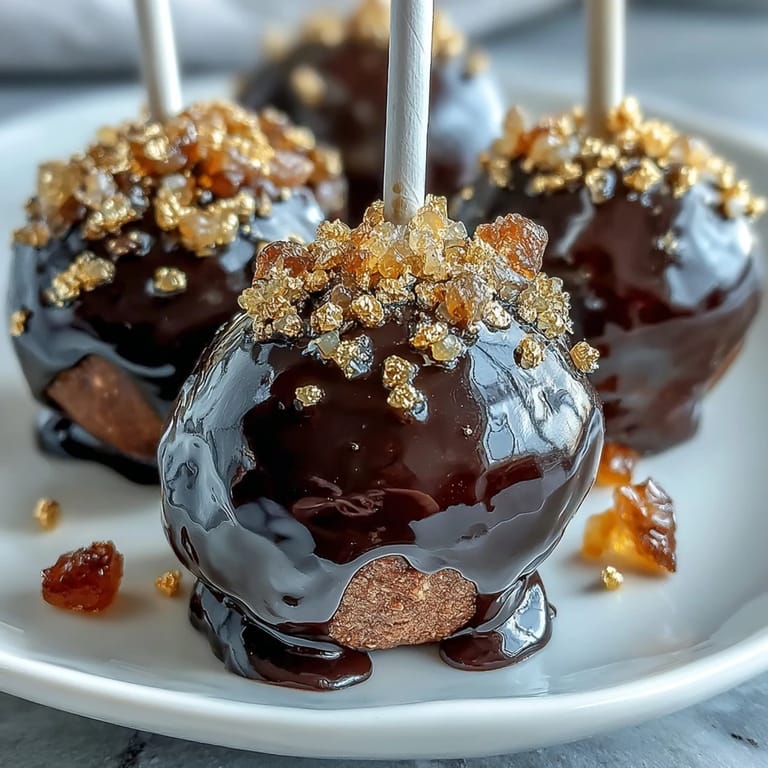
 There's something quietly joyful about creating twenty-four identical celebrations with your own hands, knowing each one will bring a smile. These Pot of Gold Cake Pops remind us that the best holiday traditions don't need to be complicated, just made with intention and a little edible gold.
Recipe FAQs
- → What ingredients create the pot shape?
Crumbled chocolate cake mixed with chocolate frosting forms a malleable dough, shaped into balls with slightly flattened tops to resemble pots.
- → How is the gold effect achieved on the pops?
Gold sprinkles or edible gold pearls are applied on the black candy coating tops, imitating pots filled with sparkling gold coins.
- → Can I add other decorations for variety?
Yes, green fondant or sprinkles shaped like shamrocks can be added for festive accents.
- → What is the recommended storage method?
Keep the treats in an airtight container at room temperature to maintain freshness for up to three days.
- → Are there gluten-free options for this preparation?
Using a gluten-free cake mix and confirming all decoration ingredients are gluten-free ensures suitability for gluten-sensitive diets.