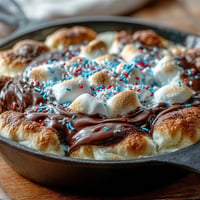
 Pin It
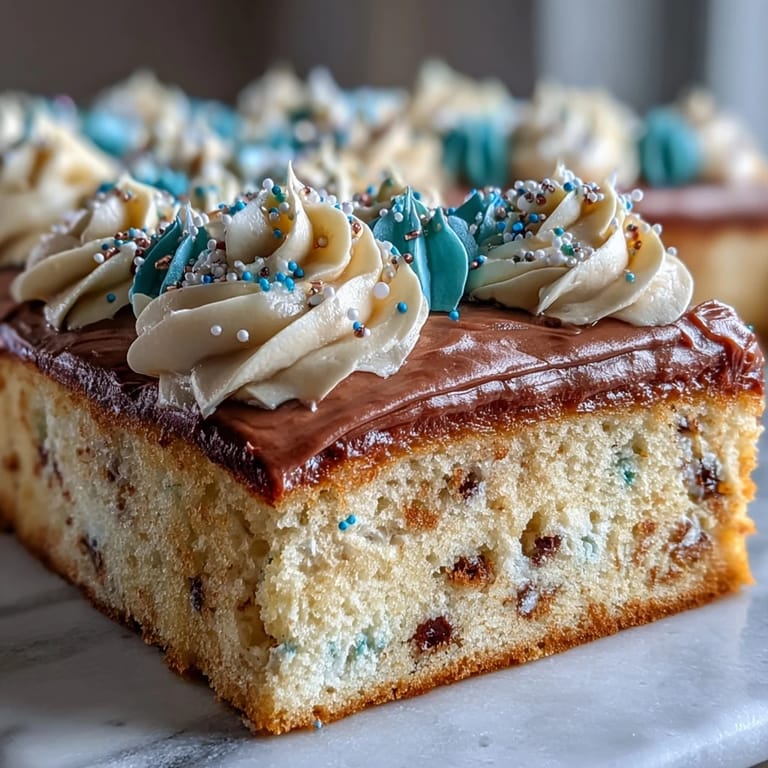
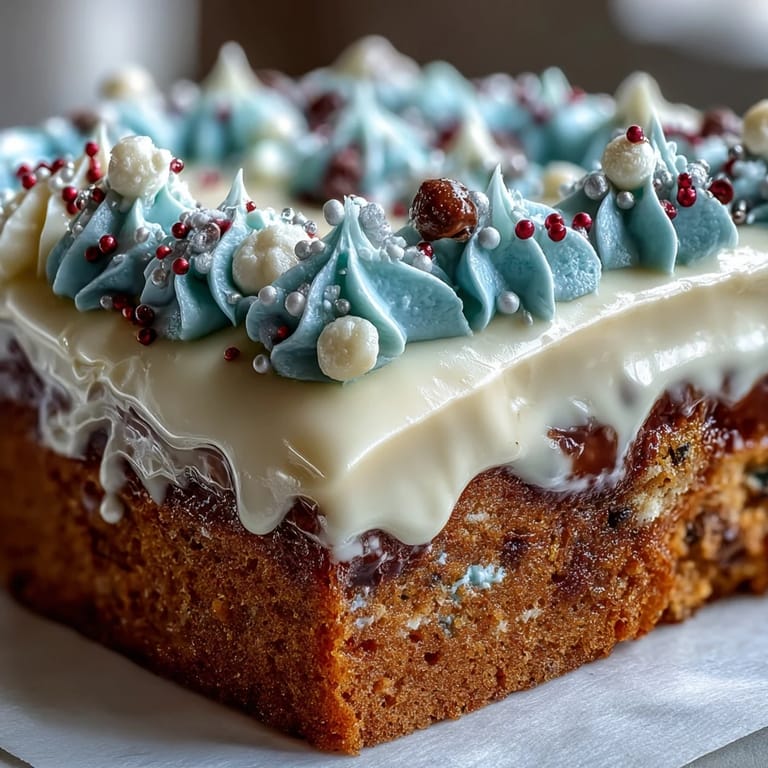
 The scent of vanilla and butter always brings back the buzz of graduation season, when my kitchen becomes a miniature bakery for celebration cakes. Last year, as cap-and-gown chatter swirled, I found myself mixing batter for a sheet cake big enough to feed excited friends and family. There was laughter as I piped 'Class of 2026' onto the cool frosting, my hands shaking just enough to make the letters playful. Somehow, the anticipation of the party made each step feel momentous, and the vibrant school colors made the cake pop like confetti. Even the little smudge from a rogue sprinkle felt like part of the fun.
I remember the rush one Friday afternoon, when classmates gathered as I frosted the cake right on my dining table. Someone cheered the first piped '2', and the chatter made the piping bag less intimidating than usual. We ended up giggling over finger-licked frosting and rogue sprinkles clinging to graduation sashes. That moment transformed a simple dessert into a centerpiece of accomplishment and togetherness.
Ingredients
- All-purpose flour: Gives structure to the cake; measure carefully and sift for a finer crumb.
- Baking powder: Ensures a reliable rise; check it’s fresh so the cake doesn’t fall flat.
- Salt: Balances sweetness and enhances flavor; a little goes a long way.
- Unsalted butter: For both cake and frosting, brings richness; use room temperature for smooth mixing.
- Granulated sugar: Creates tender, moist crumb in the cake; cream thoroughly with the butter for best texture.
- Eggs: Bind everything together and help the cake stay fluffy; always crack each into a separate bowl to catch shell fragments.
- Vanilla extract: The star of the flavor show; genuine vanilla makes all the difference.
- Whole milk: Adds moisture and softens the crumb; warm slightly before adding so batter doesn’t seize.
- Powdered sugar: Essential for silky frosting; always sift to avoid lumps.
- Food coloring: Gel works best for deep colors without thinning frosting; mix small amounts at first to avoid overdoing it.
- Sprinkles or edible glitter: Optional, but adds sparkle and celebratory flair; apply after piping so designs stay crisp.
Tired of Takeout? 🥡
Get 10 meals you can make faster than delivery arrives. Seriously.
One email. No spam. Unsubscribe anytime.
Instructions
- Preheat and Prepare the Pan:
- Turn your oven to 350°F and line the sheet pan with parchment for easy release. Don’t forget to lightly grease the corners.
- Mix Dry Ingredients:
- Whisk flour, baking powder, and salt in a bowl until evenly combined; you’ll notice the powder floats in tiny clouds.
- Cream Butter and Sugar:
- Beat butter and sugar until pale and fluffy, listening for the rhythmic clack of the beaters—three minutes is just right.
- Add Eggs and Vanilla:
- Add eggs one by one, mixing well after each; once the mixture turns glossy, stir in vanilla for that unmistakable scent.
- Combine and Alternate Dry with Milk:
- Add the dry ingredients in three batches, alternating with milk, scraping the bowl between additions; stop mixing as soon as the last streak of flour vanishes.
- Bake the Cake:
- Pour batter into the pan and smooth it gently; bake 30–35 minutes, checking with a toothpick for doneness and watching edges turn golden.
- Cool Completely:
- Place the pan on a wire rack and let the cake cool fully—patience pays off when the frosting stays smooth.
- Make Buttercream Frosting:
- Beat butter until creamy, then add powdered sugar gradually; blend in vanilla and just enough milk for the desired spreadable texture.
- Color and Divide:
- Portion frosting into bowls; add colors to match school spirit, stirring gently so hues stay vibrant.
- Decorate with Piping:
- Spread base color smoothly, pipe borders and 'Class of 2026' with writing and star tips; go slow, wiping tips between colors.
- Add Toppings:
- Sprinkle glitter or sugar once piping is done; every sparkle adds a celebratory touch.
- Chill Before Serving:
- Refrigerate the decorated cake 30 minutes so the frosting sets perfectly for clean slices.
 Pin It
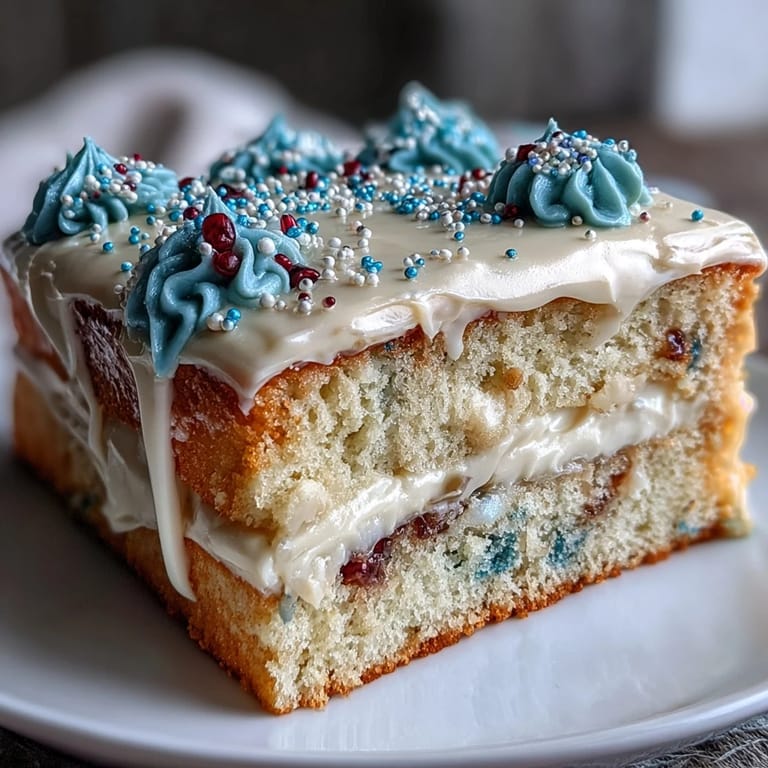
 When the cake appeared on the buffet table, it drew everyone in for photos and forkfuls—the ceremony faded into laughter, and the sheet cake became the sweetest shared memory of the day.
Timing Tricks for Busy Celebrations
I learned that baking the cake the night before, then frosting and decorating the morning of, kept the cake moist and minimized last-minute chaos. Refrigerating overnight helps the flavors meld, and you can pipe details calmly without racing against the clock.
Buttercream Piping Confidence
Initially, piping letters felt daunting, but practicing on parchment with extra frosting made all the difference. Switching to a star tip for edges helped disguise any shaky hands, and school colors really pop against a smooth white base.
Party Presentation Pointers
Arrange the cake on a large platter surrounded by balloons or napkins in school colors; it's a simple way to make the dessert table festive. Cut generous squares for easy serving and don't forget extra forks!
- Warm a metal spatula under hot water for super clean slice edges.
- Keep extra piping bags handy for fixing last-minute smudges.
- Snap a photo before cutting—it’ll be devoured fast.
 Pin It
 May your sheet cake mark the occasion with sweetness, color, and a dash of graduation pride. Every slice is a little celebration worth savoring!
Recipe FAQs
- → How do I achieve vibrant frosting colors?
Use gel food coloring to tint buttercream. Gel colors provide intensity without thinning the frosting.
- → Can I make this cake chocolate flavored?
Yes, replace half a cup of flour with unsweetened cocoa powder for a delicious chocolate alternative.
- → What tools are needed for piping the cake?
You’ll need piping bags, round and star tips, a mixer, and an offset spatula to decorate and pipe text.
- → How should leftovers be stored?
Cover and refrigerate the cake for up to four days. Keep decorations intact by chilling before serving.
- → What can I serve with this cake?
Sparkling lemonade or fruit punch are excellent choices to complement the festive dessert.
- → Is this cake suitable for vegetarians?
Yes, all ingredients are vegetarian-friendly, but check labels for food coloring and decorations.